

As a supplier of Gray Heat Shrink products, I understand the importance of ensuring that these materials work properly. Gray Heat Shrink is widely used in various industries for insulation, protection, and bundling purposes. In this blog post, I will share some effective methods to test if Gray Heat Shrink is working as it should.
Understanding Gray Heat Shrink
Before diving into the testing methods, it's essential to have a basic understanding of Gray Heat Shrink. Gray Heat Shrink is typically made from polymers such as polyolefin, which has the unique property of shrinking when exposed to heat. This shrinkage creates a tight seal around the object it covers, providing insulation and protection against environmental factors like moisture, dust, and chemicals.
Visual Inspection
The first step in testing Gray Heat Shrink is a visual inspection. This can be done before and after the heat - shrinking process.
Pre - Shrink Inspection
- Check for Physical Damage: Examine the Gray Heat Shrink tube for any visible signs of cuts, tears, or holes. These defects can compromise the integrity of the tube and prevent it from providing proper protection.
- Verify Dimensions: Measure the diameter and length of the tube to ensure they match the specifications. Incorrect dimensions can lead to improper fitting and reduced performance.
Post - Shrink Inspection
- Shrinkage Uniformity: After applying heat, check if the shrinkage is uniform along the entire length of the tube. Uneven shrinkage may indicate issues with the heating process or the quality of the tube itself.
- Seal Quality: Look for a tight seal around the object. There should be no gaps or openings where moisture or contaminants could enter. A good seal is crucial for effective insulation and protection.
Shrinkage Ratio Test
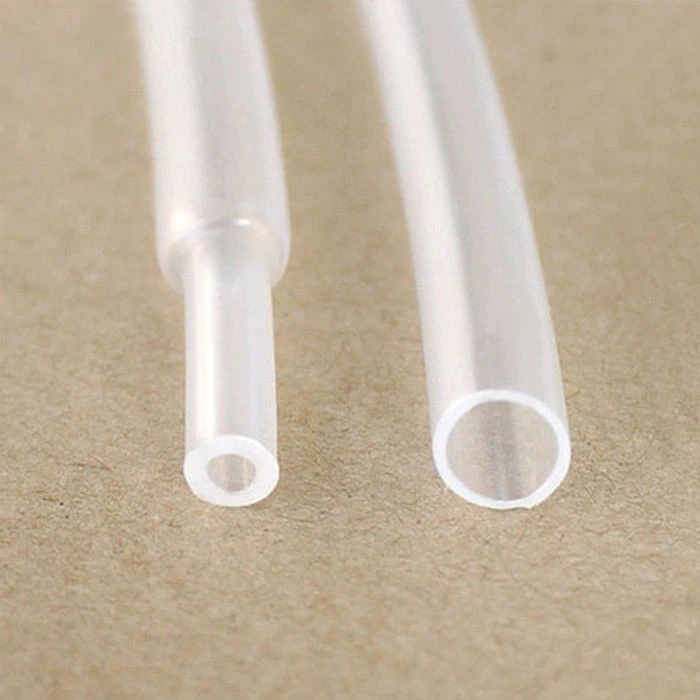
The shrinkage ratio is an important parameter for Gray Heat Shrink. It is defined as the ratio of the original diameter of the tube to the diameter after shrinkage.
Procedure
- Measure the original inner diameter of the Gray Heat Shrink tube using a caliper.
- Place the tube over a test object with a known diameter.
- Apply heat to the tube using a heat gun or an oven, following the manufacturer's recommended heating parameters.
- Once the tube has fully shrunk, measure the inner diameter again.
- Calculate the shrinkage ratio using the formula: Shrinkage Ratio = Original Diameter / Shrunken Diameter
Acceptance Criteria
The shrinkage ratio should match the specifications provided by the manufacturer. A significant deviation from the expected ratio may indicate a problem with the tube or the heating process.
Adhesion Test
Good adhesion between the Gray Heat Shrink tube and the object it covers is essential for long - term performance.
Peel Test
- Prepare a test sample by applying the Gray Heat Shrink tube to a flat surface.
- Use a sharp blade to make a small cut in the tube at one end.
- Slowly peel the tube away from the surface at a 90 - degree angle using a force gauge.
- Record the force required to peel the tube.
Acceptance Criteria
The adhesion strength should be within the acceptable range specified by the manufacturer. Low adhesion may result in the tube coming loose over time, reducing its effectiveness.
Insulation Resistance Test
Since Gray Heat Shrink is often used for insulation purposes, testing its insulation resistance is crucial.
Procedure
- Prepare a test sample by applying the Gray Heat Shrink tube to a conductor.
- Connect a high - resistance meter to the conductor and measure the insulation resistance.
- Ensure that the test is conducted in a controlled environment with stable temperature and humidity.
Acceptance Criteria
The insulation resistance should meet the requirements of the application. A low insulation resistance may indicate a breakdown in the insulation, which can lead to electrical problems.
Chemical Resistance Test
In some applications, Gray Heat Shrink may be exposed to various chemicals. Testing its chemical resistance can help ensure its long - term durability.
Procedure
- Immerse a test sample of the Gray Heat Shrink tube in a chemical solution for a specified period.
- After the immersion, remove the sample and rinse it thoroughly with water.
- Conduct visual and physical tests on the sample, such as checking for changes in color, texture, or dimensions.
Acceptance Criteria
The sample should show minimal signs of degradation or damage. If there are significant changes, the Gray Heat Shrink may not be suitable for applications where it will be exposed to that particular chemical.
Comparison with Other Heat Shrink Tubes
It can also be beneficial to compare the performance of Gray Heat Shrink with other types of heat shrink tubes, such as PVDF Heat Shrink Tube, EVA Heat Shrink Tube, and High Pressure Heat Shrink Tube. This can help you understand the unique properties and advantages of Gray Heat Shrink in different applications.

Conclusion
Testing Gray Heat Shrink is a crucial step in ensuring its proper performance. By conducting visual inspections, shrinkage ratio tests, adhesion tests, insulation resistance tests, and chemical resistance tests, you can identify any potential issues and ensure that the product meets the requirements of your application.
If you are in the market for high - quality Gray Heat Shrink products or have any questions about testing or using them, I encourage you to reach out for a procurement discussion. We are committed to providing you with the best solutions for your needs.
References
- "Heat Shrink Tubing Handbook", published by industry experts.
- Manufacturer's specifications and technical documents for Gray Heat Shrink products.